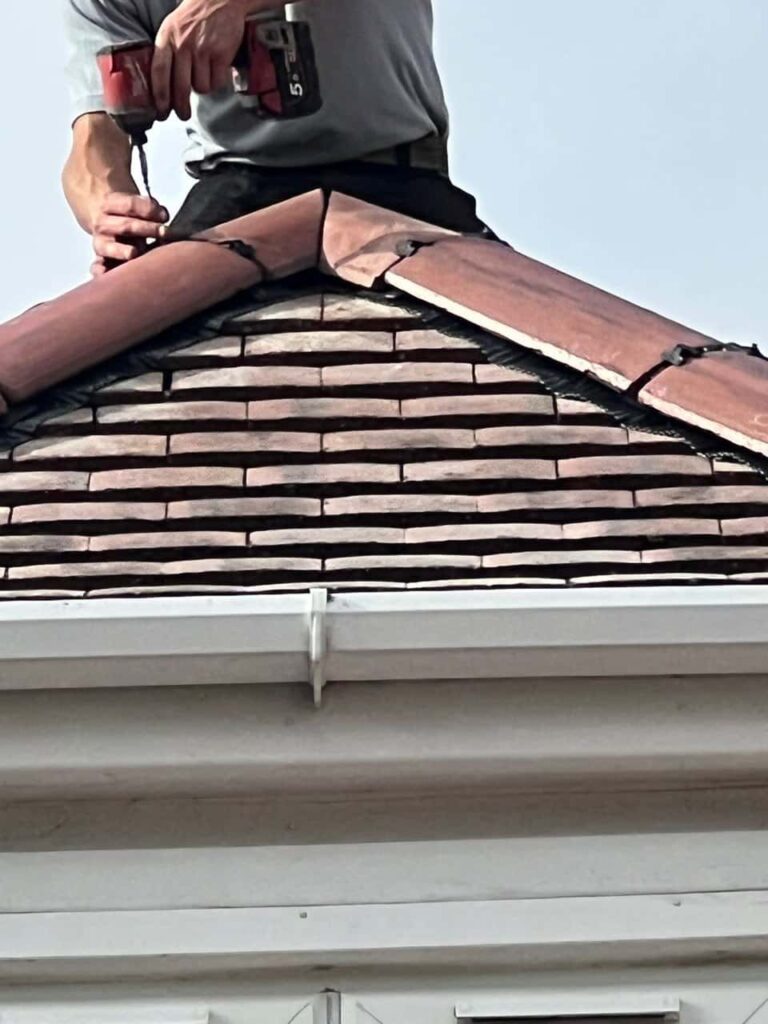
Introduction: Dormer windows add charm, character, and functionality to your home’s attic or upper-level spaces. However, these architectural features are particularly vulnerable to water infiltration if the lead flashing is compromised. Damaged lead flashing around dormer windows can lead to leaks, water damage, and costly repairs. In this blog post, presented by Bingham Roofing Repairs, we will guide you through the steps to repair lead flashing around dormer windows, helping you protect your home and preserve its beauty.
Step 1: Safety First
Before starting any repair work, ensure your safety. Use a sturdy ladder and proper safety equipment, including gloves, safety glasses, and a respirator mask. Make sure the area around the dormer window is clear of debris and obstacles.
Step 2: Inspection and Assessment
Begin by inspecting the lead flashing around your dormer window. Look for signs of damage, such as cracks, gaps, or shifting. Pay close attention to areas where the flashing meets the dormer’s siding and the roof surface.
Step 3: Gather Your Materials
To repair lead flashing around dormer windows, you’ll need the following materials:
- Lead Flashing Sheets: Obtain lead flashing sheets that match the grade and thickness of your existing flashing.
- Lead Sealant or Mastic: High-quality lead sealant or mastic is essential for creating watertight seals around joints, overlaps, and fixings.
- Lead Fixings: Depending on the repair, you may need lead fixings like lead wedges, lead clips, or copper nails to secure the flashing.
- Flashing Cement: Flashing cement will adhere lead flashing to surfaces, creating a secure bond.
- Wooden Rollers or Mallet: Wooden rollers or soft mallets shape the lead flashing without causing damage or creases.
Step 4: Remove the Damaged Flashing
Carefully remove the damaged lead flashing from around the dormer window using lead working tools like lead knives and straight edges. Be gentle to avoid further damage to the surrounding area.
Step 5: Prepare the Area
Clean and prepare the area around the dormer window for repair. Use a wire brush to remove debris, old sealants, and other contaminants. Ensure the surface is clean and dry.
Step 6: Cut and Shape the New Flashing
Cut the new lead flashing sheets to the desired size and shape, ensuring they overlap the existing flashing by at least 100mm. Use lead working tools to shape the lead to fit the contours of the dormer window seamlessly.
Step 7: Apply Sealant and Secure the New Flashing
Apply a generous amount of lead sealant or mastic to the surface where the new flashing will be placed. Press the new flashing into the sealant, ensuring a secure and watertight bond. Secure the flashing in place using lead fixings as needed.
Step 8: Finish and Inspect
Use wooden rollers or a mallet to ensure the lead flashing is properly dressed and sealed. Inspect the repair to ensure all seams and joints are sealed correctly.
Step 9: Cleanup and Maintenance
Clean up the work area and dispose of any debris properly. Regularly inspect your dormer window’s lead flashing to catch any issues early and prevent future damage.
Conclusion: Repairing lead flashing around dormer windows is a manageable task when approached systematically and with the right materials and tools. By following these steps, you can ensure a watertight and long-lasting repair, preserving the beauty and integrity of your dormer windows and home. If you’re unsure about tackling this repair independently, consider consulting a professional roofing contractor like Bingham Roofing Repairs for expert guidance and assistance.
Call us on: 0115 647 1193
Click here to find out more about Bingham Roofing Repairs
Click here to complete our contact form and see how we can help with your roofing needs.

